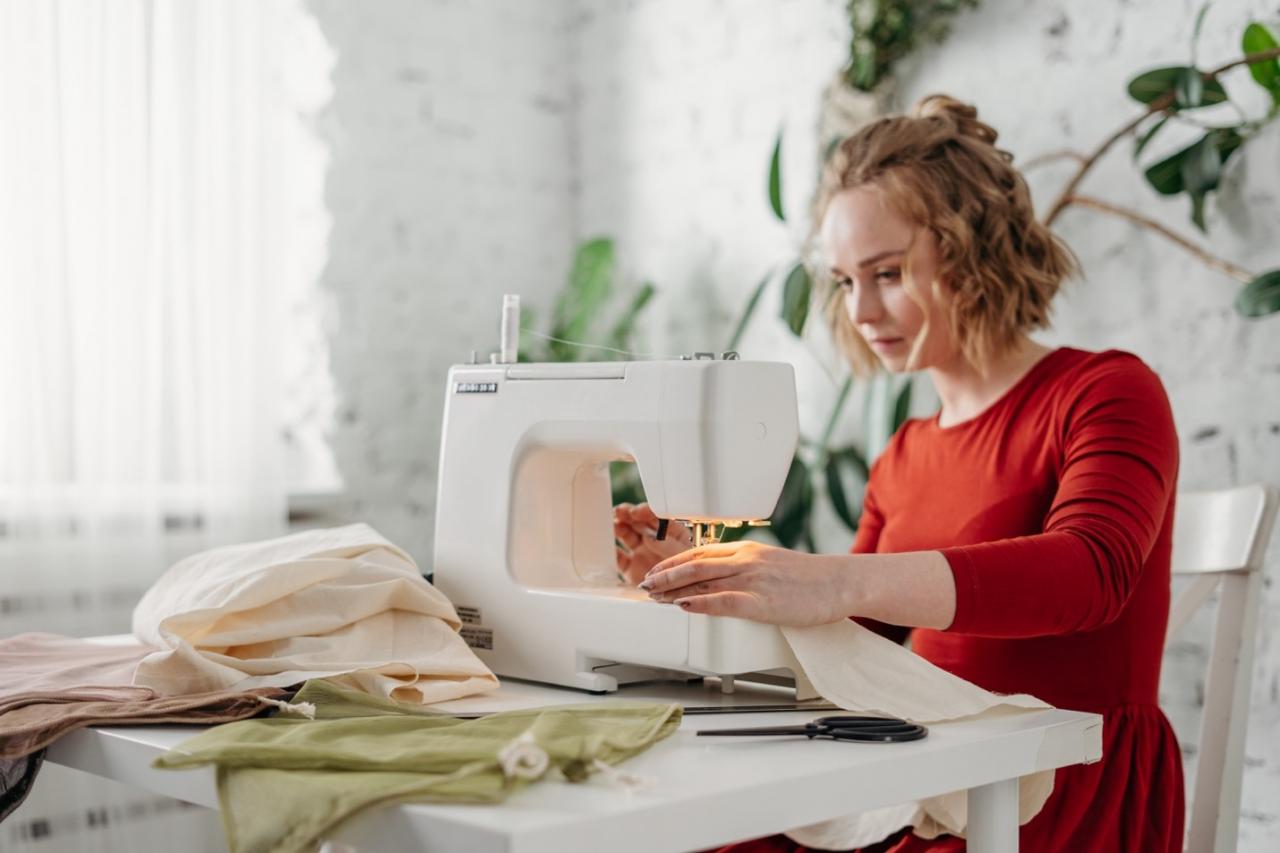
Over the years, we have shared a plethora of money-saving projects, both small and large. The idea is that if you can easily and cheaply make something at home, then why shouldn’t you? Therefore, here we are again with three things to DIY instead of buy.
Flex those DIY muscles and save some cash with these three simple ideas that will make your home and your wallet, thank us!
Scented Candles
Why buy a pricey scented candle when you can easily and inexpensively make a cute one from a clementine? We realize that several people still may haven’t heard about the beautiful, heavenly smelling Clementine Candle, while others might wonder how it is done. So here we are with an easy DIY clementine candle to light up your home!
Instructions
#1: Take a soft, nice clementine, and score it with a paring knife around the center so that you can gently peel back the skin.
#2: Without ripping the skin, remove the bottom and top of the ‘globe’ to have two empty clementine peel cups.
#3: The bottom cup of the clementine will have a pip sticking out from its center; this is going to be your candles wick.
#4: Twist or squeeze the pip into a nice wick and fill the cup with olive oil. Wait a few minutes and let the wick absorb the oil adequately.
#5: While that’s happening, use the paring knife to make decorative holes in the top cup. It will allow the heat to escape.
#6: Once the wick sufficiently absorbs the oils, gently light it and place the top cup on it to complete the globe.
Now, how easy was that? Say no to pricey scented candles and start making your own at home!
Protective Face mask
What better time to make a DIY face mask at home than during this novel coronavirus outbreak. Read on to see how you can make a reusable protective face mask for your family and yourself!
Instructions
#1: Cut two layers of cotton fabric and one layer of non-woven interfacing in 9”x7.”
#2: Cut two pieces of six-inch elastic
#3: Stack the sheets of fabric, with the filter layer on top and surface of the fabrics facing each other
#4: Insert elastic between the lining and top layers half an inch from the top on the short sides, and then pin
#5: Stitch both the short sides with half-inch seam allowance
#6: Sew the top seam at the half-inch seam allowance
#7: Center nose part in top seam allowance then stitch down
#8: Pin bottom, and leave two to three inches open at the center
#9: Sew both edges of the bottom from the pinto one part of the seam and backstitch. Ensure to not to pin the center gap
#10: Clip all four corners without cutting the stitch lines
#11: Turn right side out and pull corners out to form a rectangle
#12: Fold the bottom opening into the same spot as seam allowance
#13: Press all four sides and fold in half
#14: Make sure the top and bottom fold meet at the center, then press
#15: Sew one fourth inch topstitch around the mask and make sure to sew the bottom opening
Ta-da! Your mask is ready!
Granola
Why buy expensive Granola from a supermarket when you can easily make it at home in bulk just to your liking! Try this easy, simple granola recipe that requires only a handful of ingredients:
Ingredients
½ cup canola oil
½ cup honey
½ tsp cinnamon powder
½ salt
3 cups rolled oats
½ sliced almonds
Direction
– Mix honey, cinnamon powder, salt in the canola oil.
– Once the ingredients are thoroughly mixed, add rolled oats and sliced almonds in it.
– Mix well
– Take a baking tray and spread the mixture flat on a baking sheet
– Bake for 10 minutes at300 F
– After 10 minutes, take it out and give a light stir
– Put back in the oven for ten more minutes
– After 10 minutes, take the baking tray out and let the Granola cool down
That’s it! Your delicious homemade Granola is ready! You can always alter the recipe according to your taste. Add nuts or even dried fruits to make it better!

